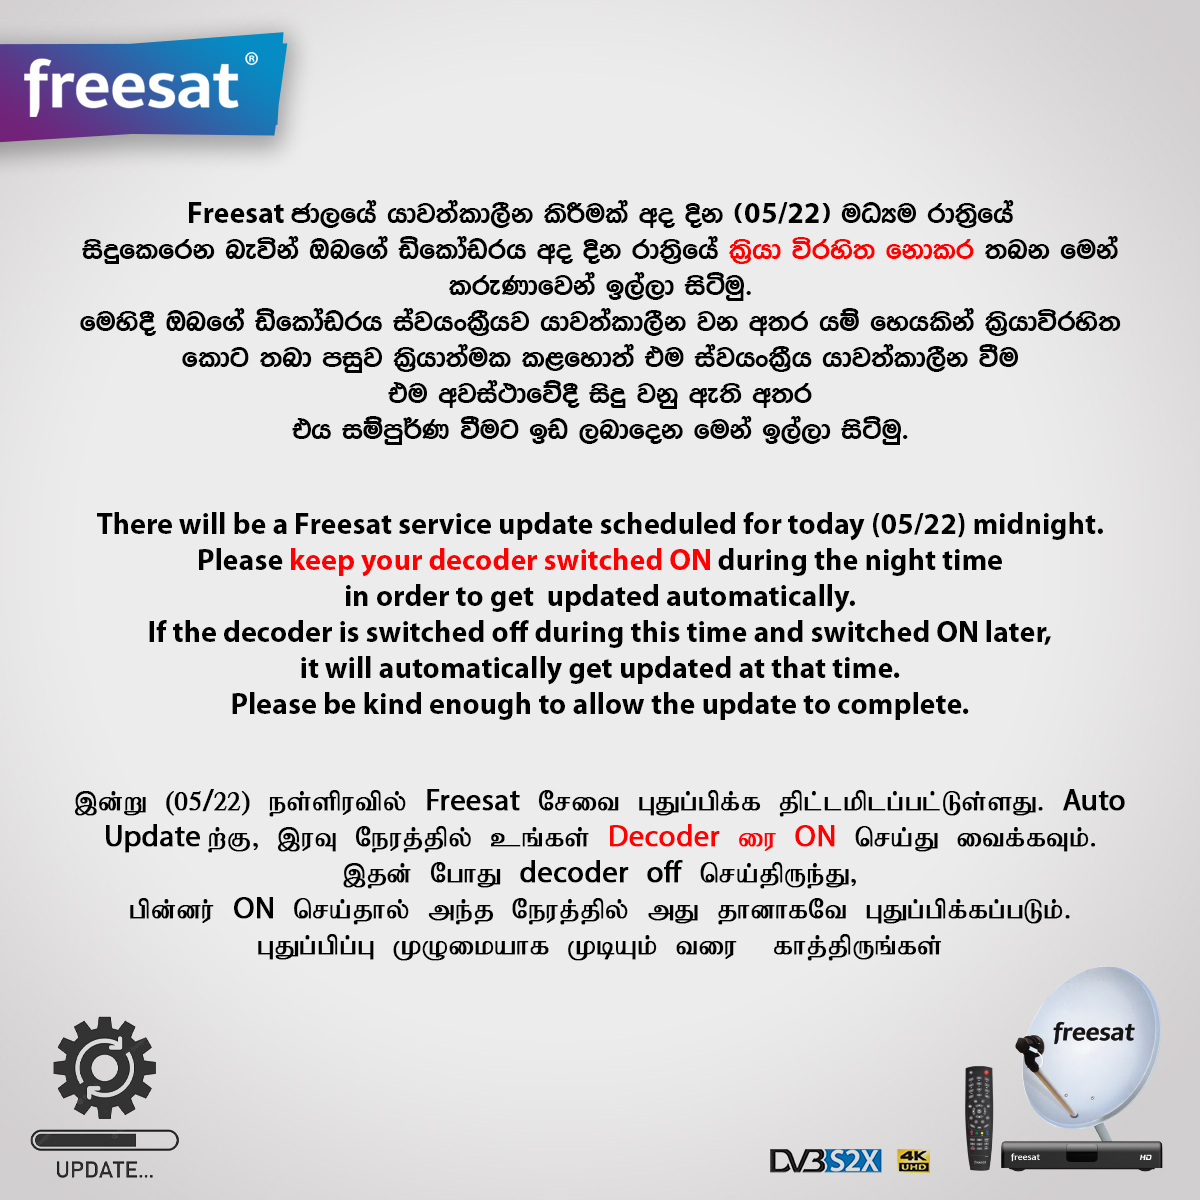
A new software update has been released for the Freesat TV (Sri Lanka) decoder, bringing it from version 0.0.0.5 to version 0.0.0.14. This update introduces various enhancements and improvements to enhance your viewing experience. To make the most of these new features, it is essential to upgrade your decoder correctly.
Freesat Sri Lanka Provide a variety of Channels to all the Sri Lanka people free of charge so In this article, we will guide you through the upgrade process step by step.
How to Upgrade Freesat Sri Lanka Software
Step 1: Accessing the Main Menu
To initiate the upgrade process, begin by accessing the main menu on your Freesat TV decoder. You can do this by pressing the “Menu” button on your remote control. The main menu should appear on your screen, providing access to various settings and options.
Step 2: Navigating to the Upgrade Software Section
Once you have accessed the main menu, navigate to the section that allows you to upgrade the software. The location of this section may vary depending on the specific model of your Freesat TV decoder. Look for an option that indicates software updates or upgrades.
Step 3: Selecting OTA Update
Within the upgrade software section, you should find an option for OTA (Over-The-Air) updates. Choose this option to proceed with the upgrade process. OTA updates are delivered directly to your decoder through the satellite signal, ensuring a convenient and hassle-free update experience.
Step 4: Entering the Password
To initiate the OTA update, you may be prompted to enter a password. In this case, enter “0000” as the password using your remote control. This step is necessary to authenticate and authorize the software upgrade process.
Step 5: Initiating the Update
After entering the password, press the “OK” button on your remote control to initiate the update. Your Freesat TV decoder will then begin downloading and installing the latest software version. The duration of the upgrade process may vary, so please be patient while the update is in progress.
Step 6: Allowing Sufficient Time for Upgrade
During the update, it is important to allow sufficient time for the upgrade process to complete. Avoid interrupting or powering off your decoder, as this may cause issues with the update installation. Depending on the size of the update and the speed of your internet connection, the upgrade may take several minutes to complete.

Important Note
Please be aware that this upgrade will remove any previously linked channels if you have connected a DD free dish or any other satellite service. After completing the upgrade, it is recommended to perform a manual installation and search for channels again to restore your desired channel lineup.
Conclusion
By following these step-by-step instructions, you can successfully upgrade your Freesat TV decoder from version 0.0.0.5 to version 0.0.0.14. Enjoy the latest enhancements and improvements that this software update brings to enhance your viewing experience.
Remember to perform a manual channel search after the upgrade if you have connected additional satellite services. Stay up-to-date with the latest software releases to ensure you have access to the best features and performance on your Freesat TV decoder.
